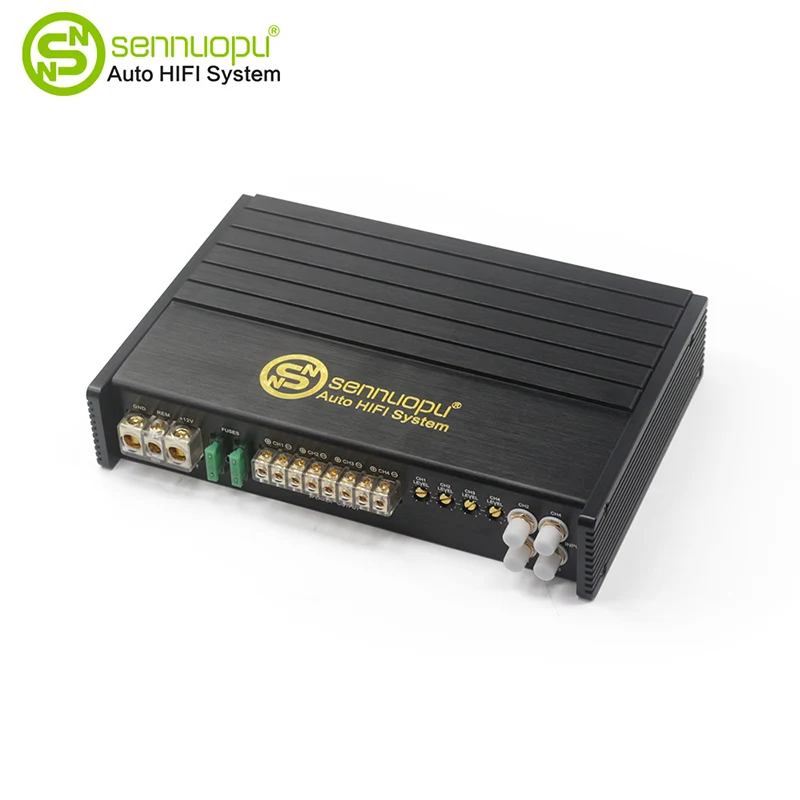
How to Identify and Solve Car Amplifier Overheating Problems
2025-06-13
Here’s a structured approach to recognizing and remedying overheating in your car amplifier:
1. Recognizing Overheating Symptoms
Thermal Shutdowns
Amplifier cuts out mid-song and resumes after cooling down.
Distorted or Muffled Sound
When the amp’s thermal protection engages, output may clip or sound “flat.”
Warm-to-Hot Chassis
Touch the heatsink or chassis carefully; warmth is normal under load, but extreme heat (uncomfortably hot to the hand) indicates trouble.
Flickering Protection LED
Many amps have an indicator that flashes or changes color when thermal protection is active.
Unreliable Operation at High Volume
The amp behaves fine at low volume but overheats when pushed.

2. Common Causes of Overheating
Insufficient Ventilation
Mounted in a tight enclosure or buried under carpeting.
Excessive Load
Speakers with too low impedance, bridging beyond rating, or driving more channels than the amp supports.
High Gain/Sensitivity Setting
Amp is over-driven by input signal, drawing extra current and generating extra heat.
Inadequate Wiring
Thin power wire or poor ground connection increases resistance and heat.
Dust & Debris Buildup
Blocks airflow over heatsinks or internal fans.
Aging Thermal Compound or Failing Fan
Deteriorated heat‐transfer materials or non-working cooling fan.
3. Diagnosing the Issue
Visual Inspection
Look for dust, debris, and blocked vents.
Check for discolored (overheated) wiring or connectors.
Check Speaker Impedance
Measure speaker impedance with a multimeter; ensure it matches the amp’s rating (e.g. 4 Ω minimum).
Measure Voltage at Amplifier
With a voltmeter, confirm the amp sees 12–14.4 V at its power terminal under load.
Listen & Observe
Turn volume up gradually. Note at what level heat spikes or distortion appears.
Test Gain Settings
Reduce input gain/sensitivity to see if overheating frequency drops.